User Management
Manage your team's access to Clears AI from Settings → Users. This page covers inviting new users, assigning roles, and managing your workspace's seat allocation.
User management is only available to users with the Admin role.
Users Table
The Users page displays all active team members in a table:
| Column | Description |
|---|---|
| Name | The user's full name |
| The user's email address | |
| Role | Current role - Admin or User - shown as a dropdown for role changes |
| Actions | Options menu with administrative actions |
Inviting Users
- Click Invite User on the Users page
- Fill in the invite form:
- Email - the user's email address (validated for correct format)
- Name - the user's full name
- Role - select User (default) or Admin
- Click Invite
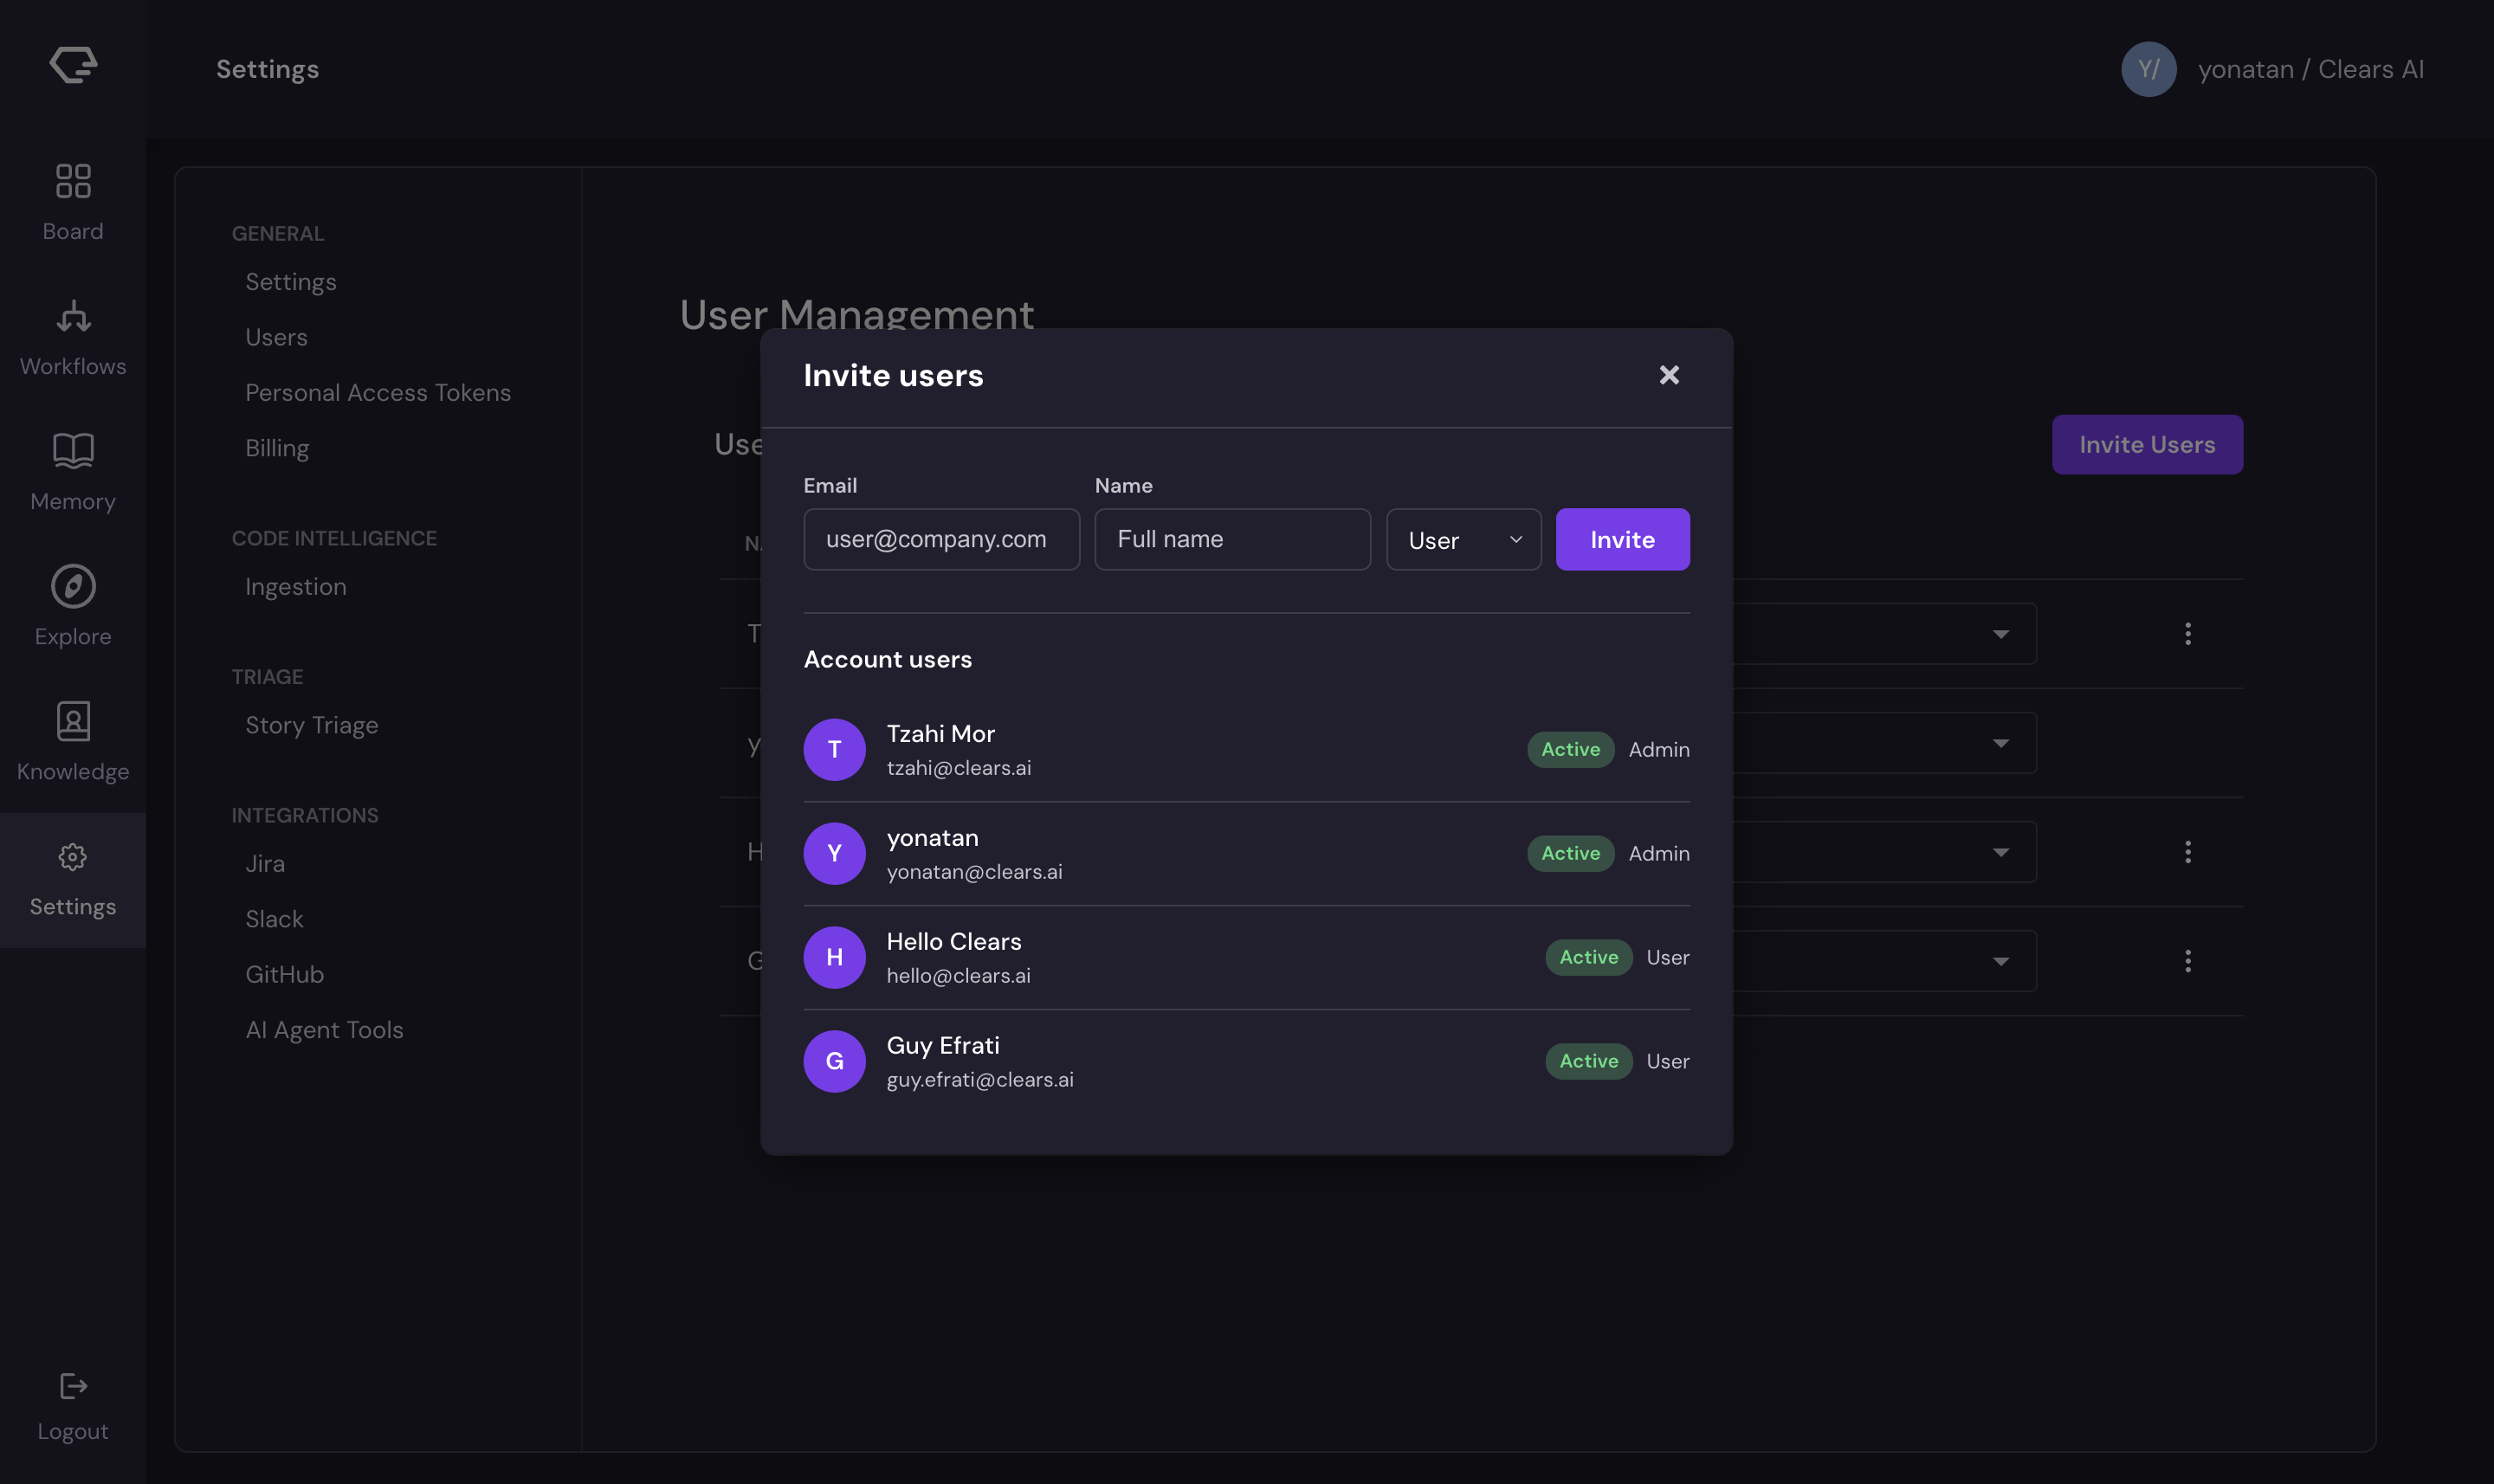
The invited user receives an email with a link to join your workspace. Until they accept, they appear as Pending Invitation (orange badge) in the user list within the invite modal.
The invite form is disabled when your workspace has reached its seat limit. See Seat Management below to add more seats.
Roles
Clears AI has two roles:
Admin
Admins have full access to the workspace:
- Configure integrations (Jira, GitHub, Slack, AI Tools)
- Manage users (invite, change roles, remove)
- Access all settings including API key management
- Create and manage stories on the Board
- Interact with AI agents and view memory
User
Regular users can work within the platform but cannot modify workspace configuration:
- Create and manage stories on the Board
- Interact with AI agents and view memory
- Answer Q&A questions and review pull requests
- Cannot access integration settings or user management
Changing a User's Role
To change a user's role:
- Find the user in the Users table
- Click the Role dropdown in their row
- Select Admin or User
- The change takes effect immediately
Removing Users
To remove a user from the workspace:
- Click the options menu (three dots) in the user's row
- Select Remove
- Confirm the action in the dialog
Removed users are deactivated and lose access to the workspace immediately. This frees up a seat for a new invitation.
User removal is immediate. The user will lose access as soon as you confirm.
You cannot remove yourself from the workspace.
Seat Management
Your workspace has a seat limit based on your subscription plan. The Users page displays a badge showing your current usage:
3 / 10 users
This shows the number of active users out of your total available seats. The badge turns red when you've reached capacity.
When at Capacity
When all seats are used:
- The Invite User form is disabled
- A User limit reached message appears
- An Add Seats button becomes available (admin only)
Adding Seats
Click Add Seats to manage your subscription:
- Active subscription - redirects to your billing portal where you can upgrade your plan
- Trial or free tier - redirects to checkout to start a paid subscription
After increasing your seat count, return to the Users page to invite additional team members.
Pending Invitations
The invite modal shows all workspace users including those with pending invitations. Pending users display an orange Pending Invitation badge alongside their name and email.
To cancel a pending invitation:
- Open the invite modal
- Find the pending user in the list
- Click the remove button next to their entry
- The invitation is revoked and the seat is freed