Account Setup & Onboarding
When you first sign in to Clears AI, an onboarding wizard guides you through connecting your tools and configuring your workspace. The wizard adapts based on whether you use Jira or prefer a standalone setup.
Signing Up
- Navigate to Clears AI and click Sign Up
- Create your account with your email address
- Verify your email and sign in
- You'll be redirected to the onboarding wizard
Choosing Your Mode
The first step of the onboarding wizard asks you to select a mode:
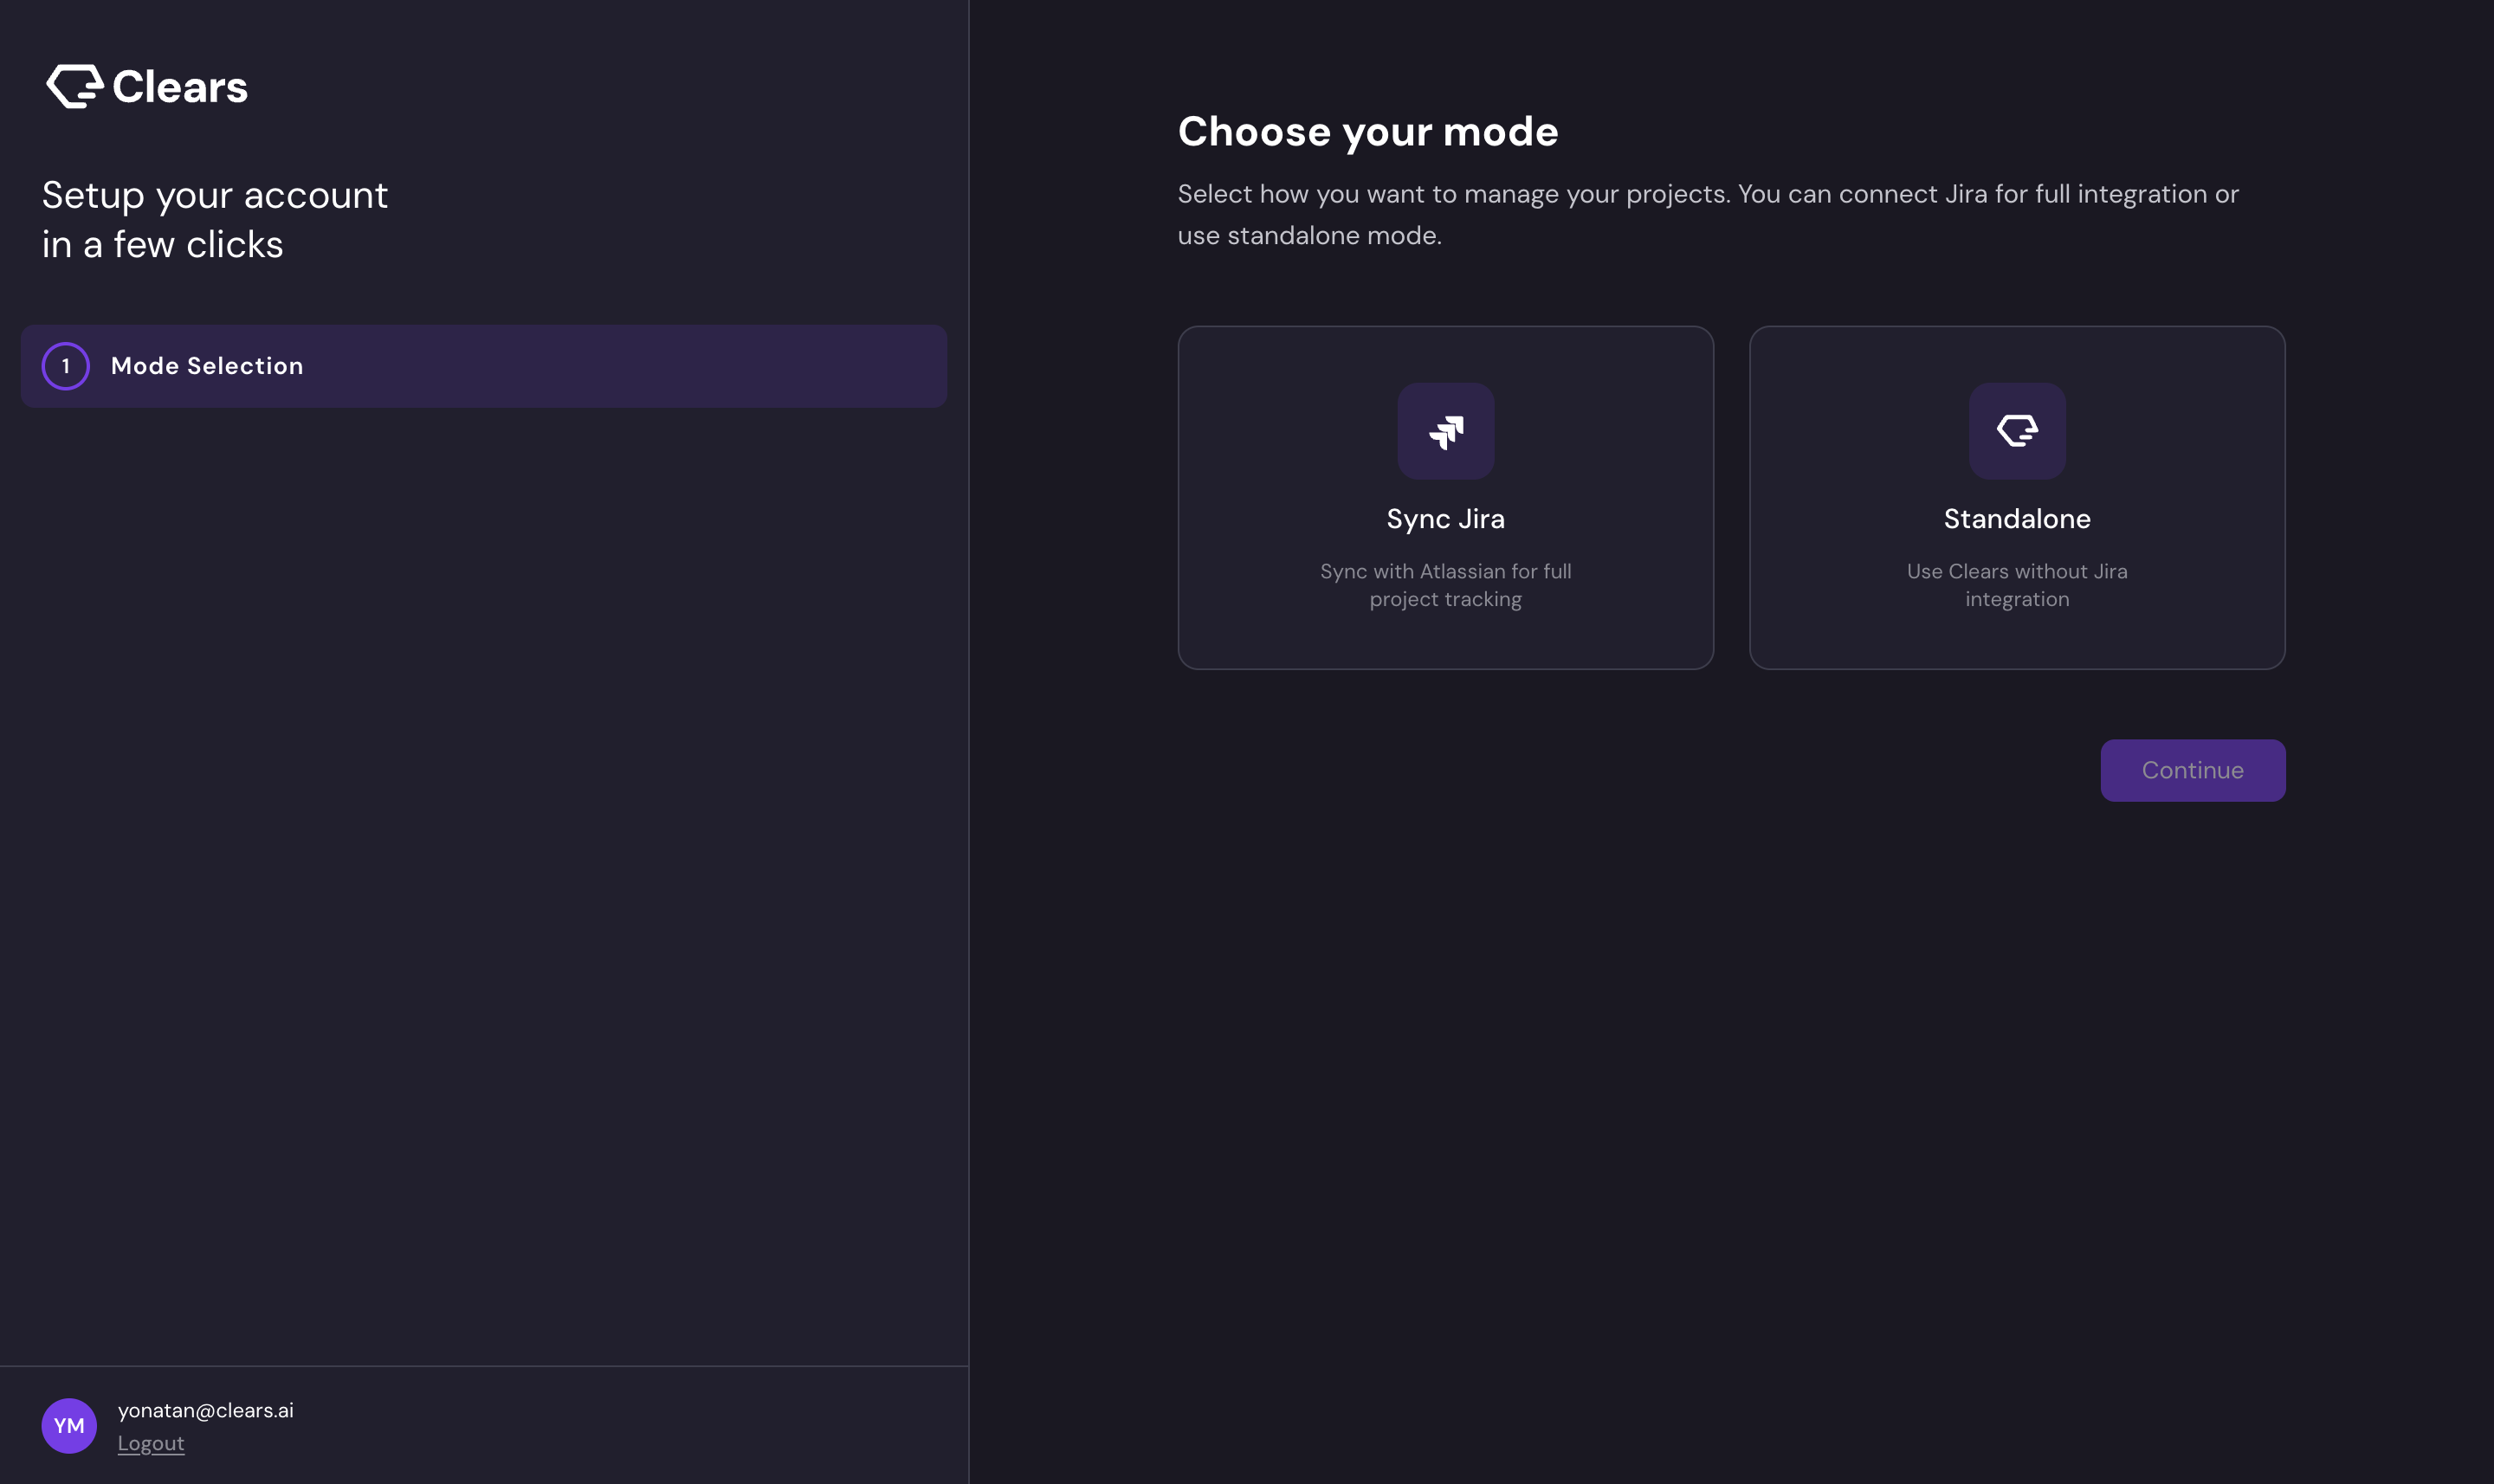
Sync Jira
Choose this if your team already uses Jira as a ticketing system. This mode syncs work items between Jira and Clears AI, letting you trigger AI execution on stories from your existing Jira backlog.
Onboarding steps:
- Choose your VCS provider (GitHub, GitLab, or Bitbucket)
- Connect your VCS provider
- Connect Jira (OAuth)
- Configure Jira webhook
- Add Jira statuses
- Connect Slack (optional)
Follow the Sync Jira onboarding guide →
Standalone
Choose this if you want to use Clears AI without Jira. You'll create and manage stories directly on the Clears AI Board.
Onboarding steps:
- Choose your VCS provider (GitHub, GitLab, or Bitbucket)
- Connect your VCS provider
- Connect Slack (optional)
Follow the Standalone onboarding guide →
:::tip Which mode should I choose? If you're evaluating Clears AI or your team doesn't use Jira, start with Standalone. You can always connect Jira later in Settings. If your team already has an active Jira backlog you want to automate, choose Sync Jira. :::
Next Steps
With your account configured, continue to Connecting Integrations for a deeper dive into each integration, or jump to Creating Your First AI Story to start using the platform.